< Back ×
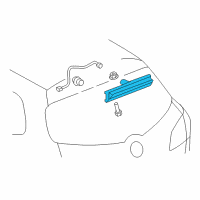
2008 Buick Enclave Third Brake Light
My Vehicle Change Vehicle
2008 Buick Enclave
< Back to View All
Tail Lights
- Department
- Prices
- Product Specifications
- Other Names: High Mount Lamp
- Item Dimensions: 4.4 x 4.3 x 15.1 inches
- Item Weight: 0.90 Pounds
- Fitment Type: Direct Replacement
- Replaces: 15133739
- Part Description: 2008 Buick Enclave High Mount Lamp
Vehicle Fitment- 2008 Buick Enclave | Base, Convenience, CX, CXL, Leather, Premium | 6 Cyl 3.6 L GAS
FAQ for Third Brake Light Repair
Q: How many screws does the high-mount stop lamp have?
A:
The high-mount stop lamp has a total of 2 screws.
By Bob
GM Specialist
01/11/2022Q: What is the recommended torque for the high-mount stop lamp screws?
A:
The recommended torque is 2 Nm (18 lb in).
By Bob
GM Specialist
01/11/2022Q: What will need to be done before replacing the high-mount stop lamp (enclave)?
A:
You will need to.
By Bob
GM Specialist
01/11/2022Q: What is the removal procedure for the Tyco/AMP connectors (0.25 cap)?
A:
The procedure is to disconnect the connector from the component, release the terminal position assurance (TPA), repeat the process for the other side of the connector, and then insert the J 38125-24 in the release cavity above the terminal you are removing and gently pull the wire out of the back of the connector.
By Bob
GM Specialist
29/10/2022
