< Back ×
My Vehicle Change Vehicle
2005 Buick Rainier
< Back to View All
Transmissions Components & Shifters
- Department
- Brands
- Prices
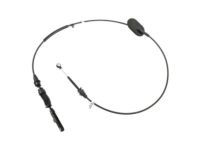
OEM (Genuine) 2005 Buick Rainier Automatic Transmission Range Select Lever Cable
PartNumber: 15785087 Product Specifications
- Notes: S-Series
- Other Names: Shift Control Cable
- Item Dimensions: 11.9 x 11.0 x 3.8 inches
- Item Weight: 0.90 Pounds
- Fitment Type: Direct Replacement
- Replaces: 15101412, 15190386, 10357836, 15079394, 15094156
- Part Description: 2005 Buick Rainier Automatic Transmission Range Select Lever Cable
Vehicle Fitment- 2005 Buick Rainier | CXL, CXL Plus | 6 Cyl 4.2 L GAS, 8 Cyl 5.3 L GAS
$79.53 MSRP:$131.64You Save: $52.11 (40%)

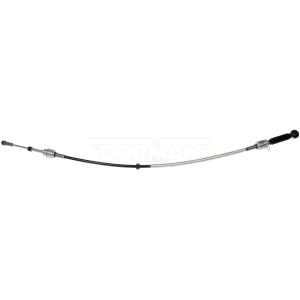
Dorman® Automatic Transmission Shifter Cable for 2005 Buick Rainier
PartNumber: 905-612Product Specifications- Cable Diameter: 6.5 mm
- Cable Length: 1917 mm
- End Type: Bushing
- Jacket Material: Plastic
- Material: Steel
- Package Contents: Shift Cable
- UPC: 885484548336
- Part Description: 2005 Buick Rainier Automatic Transmission Shifter Cable
Vehicle Fitment- 2005 Buick Rainier | All Trims | All Engines
$57.38
FAQ for Automatic Transmission Shifter Cable Repair
Q: What is the recommended torque for the transmission range selector cable bracket bolts?
A:
The recommended torque is 25 Nm (18 ft-lbs).
By Bob
GM Specialist
01/11/2022Q: How to remove the Automatic Transmission Range Selector Cable Bracket?
A:
You should apply the parking brake, shift the transmission into neutral, raise the vehicle, disconnect the transmission range selector cable from the shift lever and the bracket and remove the bolts securing the transmission range selector cable bracket to the transmission and the transmission range selector cable bracket from the vehicle.
By Bob
GM Specialist
01/11/2022Q: How to remove the Automatic Transmission Range Selector Cable?
A:
You should ensure that the vehicle is in the park position, raise the vehicle, remove the end of the range selector cable from the transmission range selector lever ball stud, the retainer from the range selector cable, the range selector cable from the bracket, and the cable from the retainer on the floor panel, push the cable grommet up through the floor panel, lower the vehicle and remove the console, the driver's side front mat and carpet, the end of the range selector cable from the floor control ball stud, the range selector cable from the floor shift control assembly, the tape, and grommet on the shift cable from the floor panel and the range selector cable from the vehicle.
By Bob
GM Specialist
01/11/2022Q: How to adjust the Automatic Transmission Range Selector Cable?
A:
You should ensure that the range selector cable is not restricted and the floor shift control is in the park position, raise the vehicle, disconnect the range selector cable from the range selector lever ball stud, ensure that the range selector lever is in the mechanical park position, release the locking tab, slide the secondary lock cover to the side, carefully squeeze the locking tabs together to disengage the primary lock, pull the primary lock up, push the end of the cable until it is aligned with the ball stud, install the cable to the ball stud, seat the primary lock by pressing into the locked position, slide the secondary lock over the primary lock, be sure that the secondary lock tab is securely in place, lower the vehicle and check the vehicle for proper operation.
By Bob
GM Specialist
01/11/2022

