< Back ×
My Vehicle Change Vehicle
2001 Chevrolet Metro
< Back to View All
Emission Control
- Department
- Prices
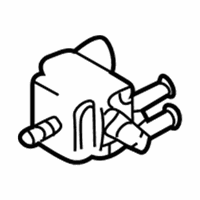
OEM (Genuine) 2001 Chevrolet Metro Valve, Vacuum Switching (On Esn)
PartNumber: 30020566 Product Specifications
- Notes: All
- Other Names: Air Valve, Purge Valve
- Item Dimensions: 3.9 x 2.9 x 1.1 inches
- Item Weight: 0.70 Pounds
- Fitment Type: Direct Replacement
- Part Description: Valve, Vacuum Switching (On Esn)
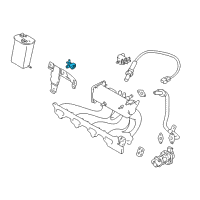
OEM (Genuine) 2001 Chevrolet Metro Valve, Evap Emission Canister Purge Thermal Vacuum
PartNumber: 91173917 Product Specifications
- Notes: Metro; 1.3l
- Other Names: Purge Control Valve, Purge Solenoid, Purge Valve
- Item Dimensions: 3.2 x 2.8 x 1.1 inches
- Item Weight: 0.60 Pounds
- Fitment Type: Direct Replacement
- Part Description: Valve, Evap Emission Canister Purge Thermal Vacuum
FAQ for Canister Purge Valves Repair
Q: How to install the canister vent valve?
A:
You need to align the tab on the EVAP-canister vent solenoid to the slot on the EVAP canister, secure the EVAP-canister vent solenoid to the EVAP canister, connect the 2 vapor hoses to the EVAP-canister vent solenoid and the electrical connector to the EVAP-canister vent solenoid, and install the fuel tank.
By Bob
GM Specialist
02/11/2022Q: What is the removal procedure for the canister vent valve?
A:
You need to remove the fuel tank from the vehicle, disconnect the electrical connector from the EVAP-canister vent solenoid, disconnect the 2 vapor hoses from the EVAP-canister vent solenoid, remove the 1 screw and the EVAP-canister vent solenoid from the EVAP canister.
By Bob
GM Specialist
02/11/2022Q: How to install the canister purge control valve?
A:
You need to inspect the EVAP canister purge valve and the EVAP purge system for carbon particle contamination before replacing the EVAP canister purge valve, install the EVAP canister purge valve to the bracket on the intake plenum, secure the EVAP canister purge valve, connect the electrical connector and the 2 vacuum hoses to the EVAP canister purge valve.
By Bob
GM Specialist
29/10/2022Q: What is the removal procedure for the canister purge control valve?
A:
You need to disconnect the 2 vacuum hoses and the electrical connector from the EVAP canister purge valve, and remove the 1 nut from the bracket that retains the EVAP canister purge valve and the EVAP canister purge valve.
By Bob
GM Specialist
29/10/2022


