< Back ×
2001 Chevrolet Astro A/C Expansion Valve
My Vehicle Change Vehicle
2001 Chevrolet Astro
< Back to View All
A/C & Heating
- Department
- Location
- Brands
- Prices
 $19.76Product Specifications
- Notes: Rear AC; OE recommended replacement part.
- OE Part Number: 52468324
- Type: Angle valve
- UPC: 042511223271
- Part Description: 2001 Chevrolet Astro A/C Expansion Valve
Vehicle Fitment- 2001 Chevrolet Astro | All Trims | 6 Cyl 4.3L

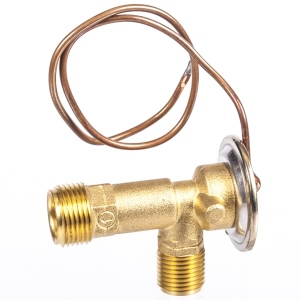
 $15.79Product Specifications
- Color: Brass
- Refrigerant Type: R134A
- UPC: 096361389083
- Part Description: 2001 Chevrolet Astro A C Expansion Valve
Vehicle Fitment- 2001 Chevrolet Astro | All Trims | All Engines
FAQ for A/C Expansion Valve Repair
Q: How to remove the expansion valve?
A:
You need to remove the left body trim, recover the refrigerant from the system, and remove the evaporator core. Then you can remove the sealer, the clip, the nuts, and the thermostatic expansion valve (TXV).
By Bob
GM Specialist
28/10/2022Q: How to install the expansion valve?
A:
You need to install the TXV and the nuts that retain the TXV to the evaporator core. Then you can install the capillary tube and the retaining clip, pack the sealer and install the evaporator core. After installing the left body trim, you can evacuate and charge the system.
By Bob
GM Specialist
28/10/2022Q: What is the recommended torque for the bolts securing the TXV to the evaporator core?
A:
The recommended torque is 5 Nm (44 lb in).
By Bob
GM Specialist
28/10/2022